STEP 1: Buy the right car.
This is the first and most important step. No one will take you seriously as an outdoorsperson if you’re behind the wheel of a baby blue mini-cooper convertible. Instead, go for a hardier and/or roomier rig based on your needs:
The Subaru Outback/Impreza: This is the perfect vehicle for weekend warriors with long commutes to the crag. You can drive to work without getting strange looks but still navigate rutted dirt roads and snow on the weekends. The Subaru’s superior gas mileage will make 6-hour Friday and Sunday rides affordable, while the hatchback gives you enough room to stow your gear and, if necessary, fold down the seats to sleep two without too much discomfort. (Read “The Art of Car Camping” for more Subaru-sleeping tips).
The Toyota Tacoma: With a camper insert or topper, you can turn your Tacoma’s bed into a watertight gear-storage area and/or tent with platform. This is perfect for those with seasonal jobs who need a commuter vehicle for part of the year and a mobile home during the other months.
The 1980s RV: Planning to dirtbag it for more than just part of the year? Take the Tacoma a step further by purchasing a retro RV for a homier feel. Just make sure to steer away from anything massive and shiny that your retired uncle might buy.
The VW Bus: This classic climber “mobile home” is perfect for those so in love with the iconic look that they don’t mind monthly breakdowns. You’ll have plenty of room to stow gear and sleep in the back for weeks on end, but be cautious when off-roading with your antique.
The Sprinter Van: These roomy customizable rigs are the crème de la crème of climbing vehicles—that is if you can afford the $32,495 starting price.
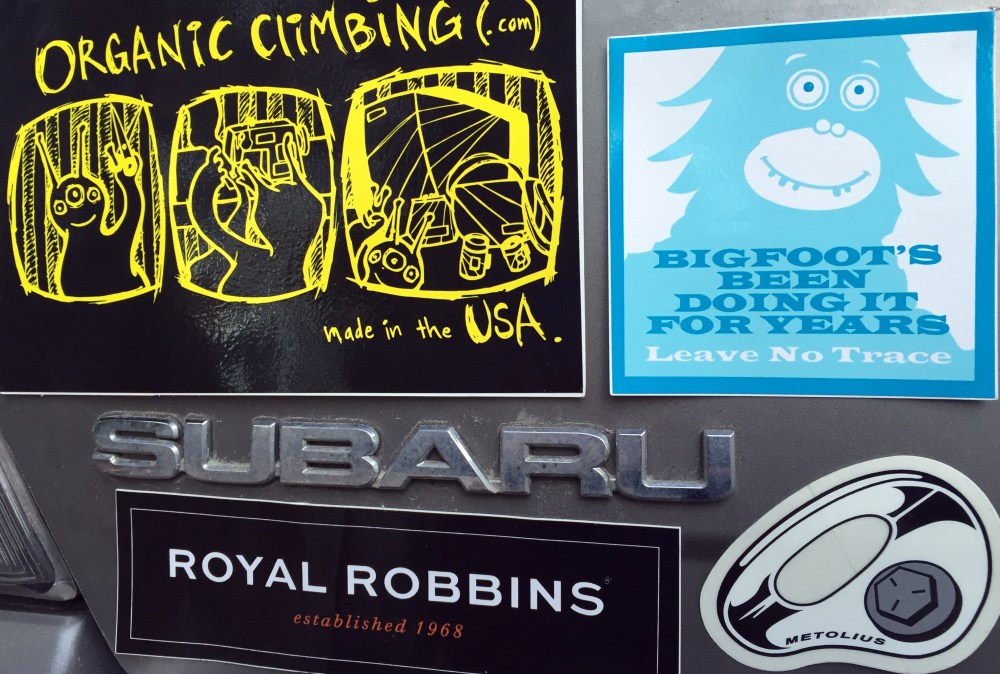
STEP 2: Bumper Sticker your vehicle.
Avoid being confused with ski bums, mountain bikers, and/or avid hikers who might buy similarly outdoorsy vehicles by plastering your bumper(s), rear window corners, and anywhere else you think will catch other’s eyes with climbing stickers. Start by advertising the Access Fund and your favorite companies, and then add stickers from your various trips.
STEP 3: Add roof rack paraphernalia.
This step is especially important if you choose the Subaru option above. Despite the hatchback, you still have limited storage capacity. You also need to distinguish yourself from soccer moms. If you’re primarily a boulderer, strap a crash pad or two to your roof rack. If you’re happier on a rope, invest in a cargo box and at least 20 climbing stickers to “personalize” it with to stow your smelly climbing shoes and 70 meter in.
STEP 4: Hang draws on rear view mirror.
In case others (non-climbers) aren’t familiar with your bumper stickers, hanging a quickdraw or two from your rear view mirror makes your love of scaling cliffs clear. It’s also a great way to practice clipping at stoplights or any time you feel the need to engage in distracted driving and don’t have your iPhone handy. Quickdraws too cliché for you? Hang a number four from your mirror instead.
STEP 5: Cover outside of vehicle in a tasteful layer of dirt.
You have to look like you climb outside regularly. Drive down a few extra dirt roads on your way to the crag to give your vehicle a worn-in look. Add a few of last season’s dried leaves to your floorboards so other climbers know (or think) you’ve been clutching rocks for years.
Now, you should know that some climbers prefer to be a bit more subtle about displaying their passion and may even look down on your VW bus plastered with “I ❤ Yosemite” and “Momentum Indoor Climbing” stickers. But also know that for every one of those you meet, you’ll have 12 non-climbers goggling over your (assumed) strength and bravery.
